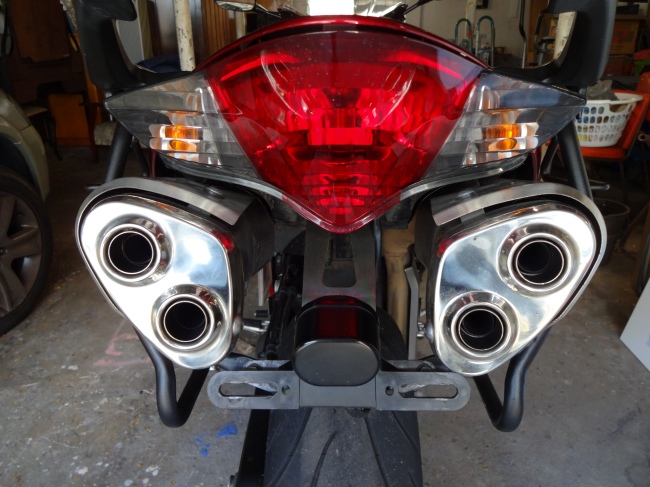
I first found this modification while perusing the excellent blog site vfrworld.com, where I found a recommendation to another blog (vfrdiscussion.com) by a chap in the US who had modified his Gen 6 25th Anniversary Tri-Color VFR800 exhaust pipes.
Initially I was sceptical, but the more I looked into it the more I was confident I could do the mod. Given I am still another 6-10 months away from being able to buy a pair of Staintunes, this was a great alternative, in the sound department at least.
Short on the tools to execute this, I ended up spending around $250 on tools and fittings. However, if you already own a Dremel, a 35mm metal cutting hole saw and a fresh hack saw blade, this mod would only cost you about $40 and your time.
Now if you’ve ever heard a stock exhaust on a Gen >6 VFR800, you’d think you were standing next to a sewing machine which is disappointing for any V engine lover. The basic concept around this modification is to bypass the baffles and reduce the distance the gasses travel inside the exhaust canisters (cans), which creates a throatier, deeper, more “V” style sound. Basically, instead of the gasses performing two 180o turns, this mod allows the gasses to travel straight from the front of the cans to the rear and out.
Most other methods that get this sort of sound from the stock cans is done by gutting the internals completely. The benefit of this particular method that I’ve done is there is no welding required, something I am no good at.
So here it is, almost all of this mod was done like for like from the original with the exception of one step.
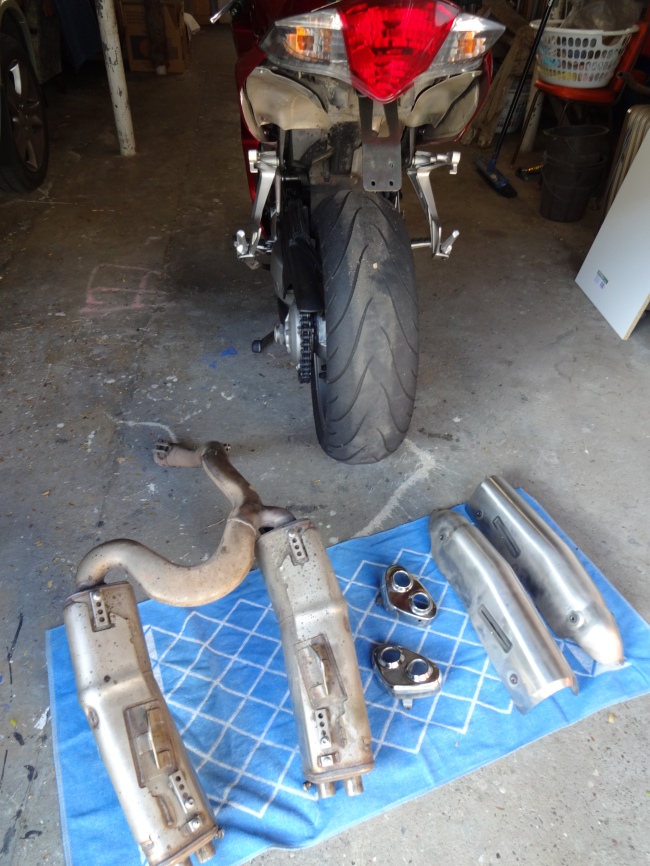
First, remove the rear part of the exhaust including the cans (one piece). Remove the heat shields from the cans and set aside.
This next step is where I vary from the original method. I cut the exhaust outlets off first, fairly close to the end cap of the can using a hack saw. Generally, as a manual task getting each exactly the same was difficult and I would recommend using a mechanical saw tool for this step where possible. Depending on how close you cut the outlet pipes off to the can end cap will determine how much easier one of the next steps is, though you do not need to be flush.
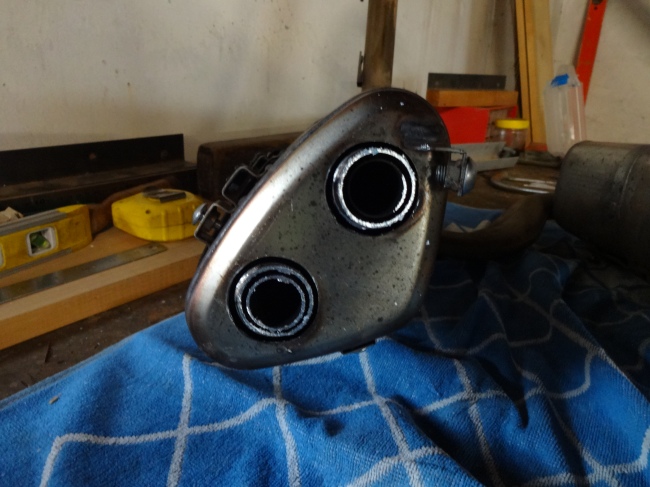
Next is to cut around the outlet pipes using a hole saw. I used a 35mm bit to do this, though if you wanted you could use a bigger 38mm (1 ½”) which would get around the weld points of the outlets. I learned the hard way and lost a tooth or two off the hole saw due to the welds hardening from the heat of the drilling process, but ended up getting this step done nonetheless.
The next step is the main surgical part, and also the most tedious.
For this step you will need a Dremel rotary tool (or similar), some metal cutting disks (x25) and as an option the flexi-shaft attachment.
In the original process it was mentioned the use of a flexi-shaft for the Dremel to make this step easier. However, I experienced some issues with the flexi-shaft disengaging constantly so ended up doing this without the attachment and it worked fine.
The metal cutting disks I purchased were 1 ½ inches wide so I had to grind these down to a size that would fit inside the outlet pipes – this is the tedious part. I did end up using my grinding wheel to do this which produced a much more efficient result then grinding the cutting wheels down on a spare piece of steel. Though if you don’t have a grinding wheel, a spare piece of steel will have to do.
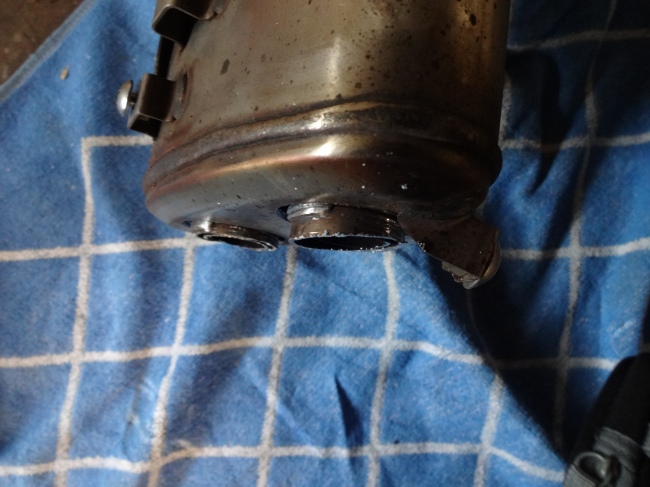
You want to start your cut about one inch into the outlet pipes, circling inside the pipe until you’ve come full circle and cut the pipe off. As one of the outlet pipes in each can begin to bend about an inch and a half in, you won’t be able to go much further than this. I used on average 6 cutting disks for each outlet pipe.
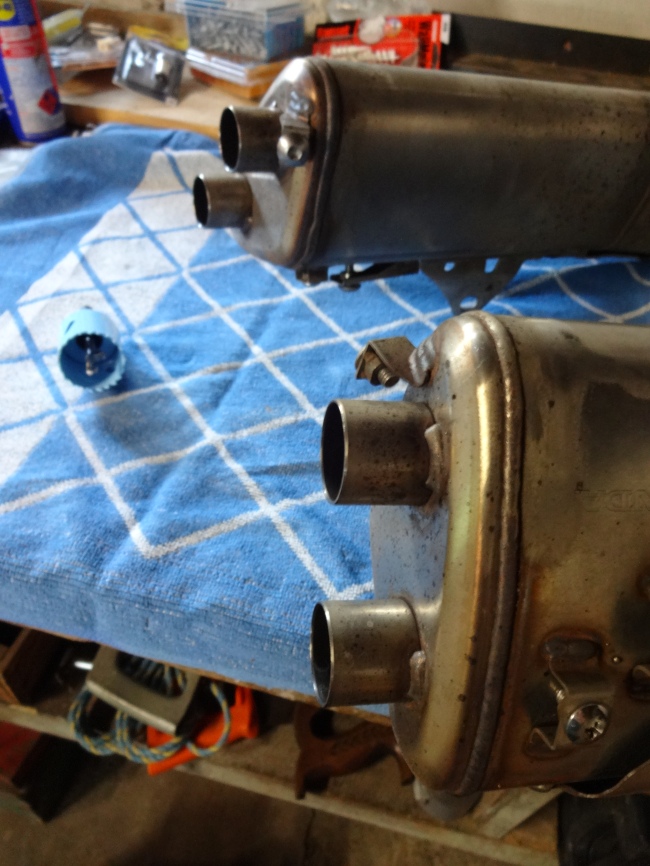
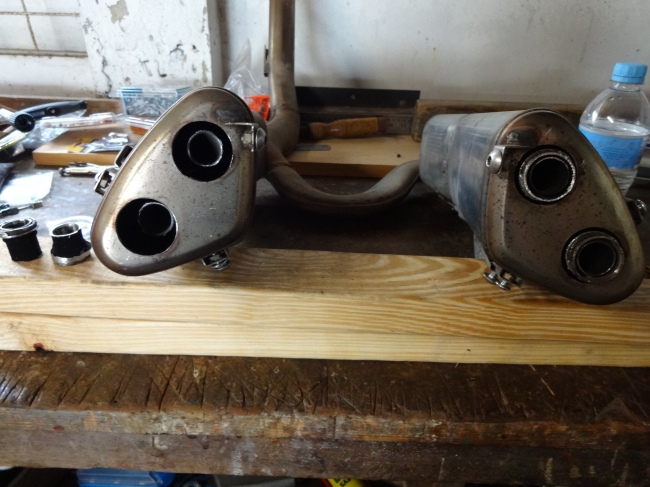
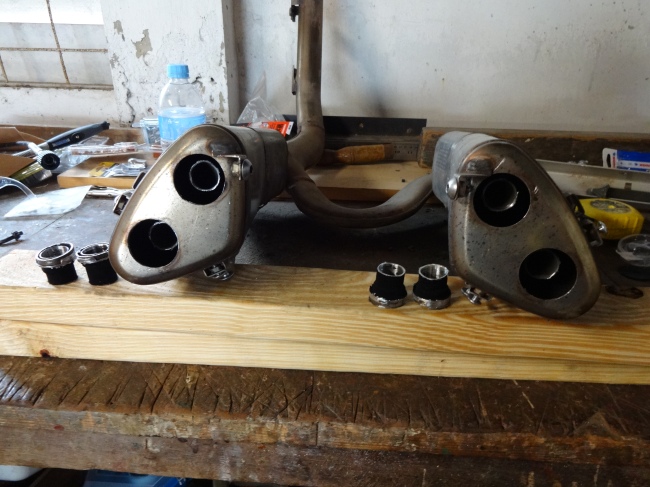
Below is an image of one can completed, and the other with the outlet pipes cut, hole sawed and ready for the Dremel surgery.
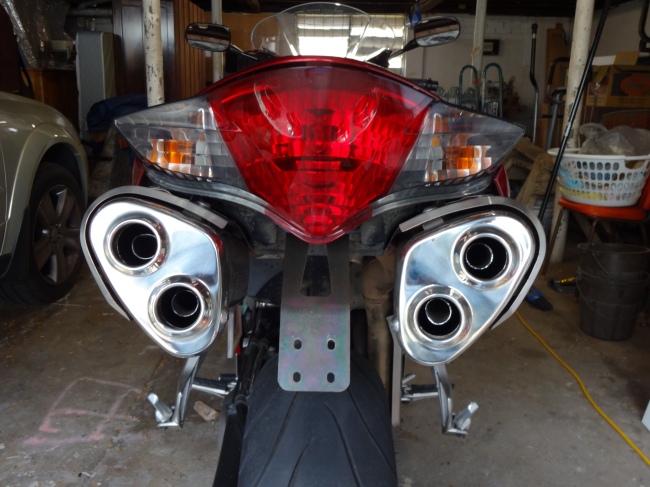
After some de-burring around the cuts and a quick clean of the heat shields the job is done. Simply put the heat shields back on, re-install the system on the bike and fire it up for the end result.
Here is a before and after video of the exhaust sound:
See you round the next bend – this time you’ll hear us coming!
– Adam
